
Home Makeover -Part III- Kitchen/Dining Area
This is Part III of a home makeover that I had recently finished.
Who doesn't
LOVE
a home that feels in order (whether it be from organized papers, shoes, clothing, you name it) or just a little orderly furniture arrangement & home decor. A HOME can feel "
orderly
" with the stuff you already have & without breaking the bank. This is exactly what happened in my friend Janda's home. She is
expecting baby #3 and wanted her home "put together" before their new guy arrived. So I went into her home & did a little decorating.
Be sure to check out her
other great makeovers
by clicking these links:
and
Part II - Living Room Makeover
This is the
Kitchen & Dining
area that got a "Delightful Order Makeover"

Here are the
BEFORE
photo's of the space:

and . . .

This is what happened in these areas:
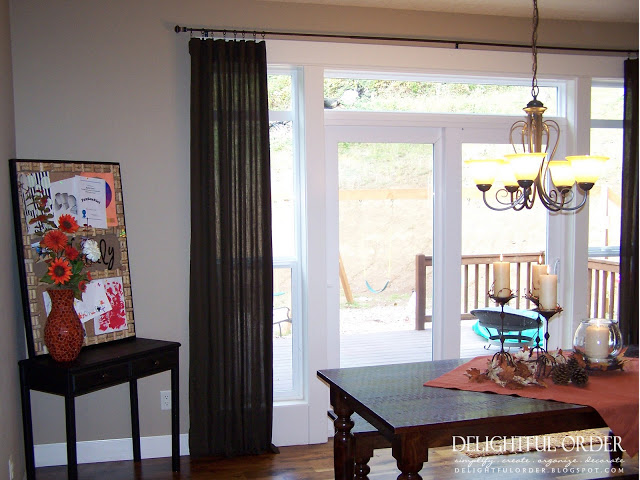
#1
- In the Eating Area:
Remember those
from the Living Room?
I told you that I was going to show you what I did with those . . .
This is where they were
BEFORE:

and this is where they are
NOW:

The kitchen table centerpiece got a little "height." It's a big table and it needed something
BIG
. The candles are new, the rest of the stuff is from within the home. To bring in some color to this area we made a "table cloth"
. . .
BUT
it isn't actually a table cloth, it was a curtain panel that Janda had & we cut it to a square (she sewed the edge) Oh & the original panel had buttons attached to them, I'll show you what I did with those buttons in a bit, but first I want to show you more pictures of this area.
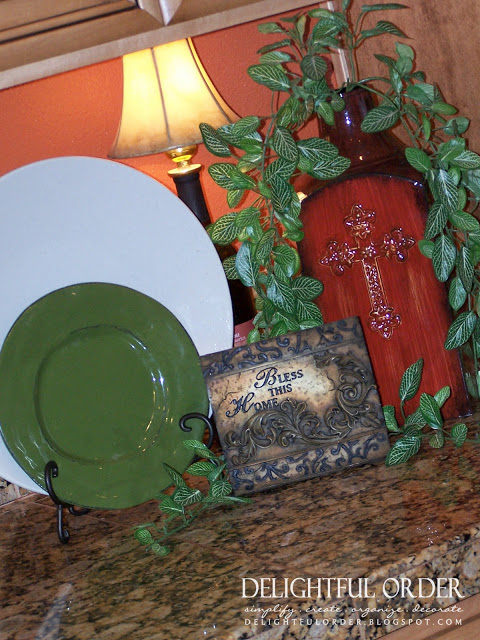
Here is a little closer look at the table arrangement:

Next, Janda made an adorable cork board for her kids' artwork, which
inspired me
& I can't wait to show you
A PROJECT
I'm working on. It's an addition to my
, but I'm not quite ready to show you yet (first I have to finish it.)

Adorable huh? It sits propped on a side table (stolen from another space in her home)
in the corner of the dining area.
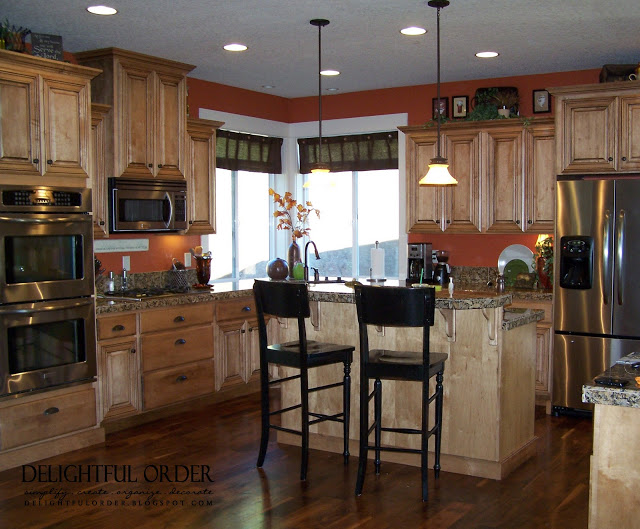
Now onto
#2
-In the Kitchen Area:
Remember those
BUTTONS
I was telling you about from the orange table cloth (which use to be the curtain panel?) Well, Janda found some green valances from Ross (which matched the dining room panels perfectly) BUT they were a little "boring" so, I simply removed the buttons from the orange panels &
hot-glued (yes, I said hot-glued, not sewed) the buttons onto the NEW green valances for above the kitchen sink... look how cute they turned out.

Here is a little closer look - Easy, Peasie! You can do that too!

I also gave the upper cabinets a complete redo . . .

. . . and the counters were delightfully organized :)
Another view of the finished kitchen
Okay, ready for the
Before & After
photo's together?

and another . . .

There you have it! A kitchen dining area makeover, done on the cheap.
Hope you enjoyed this makeover. I am really excited about some upcoming
"things"
I've been doing in my own home & I can't wait to share them with you! From
organizing
to
decorating
, to
SO
much more...
Stay tuned, check back often or better yet, become a follower (over there on my right sidebar) & feel free to tell ALL your friends to check out my site. You all are wonderful & I LOVE that I have so much interest in my blog & totally appreciate all my "NEW" blog buddies!
Thank YOU
!
May you be a little inspired!
Until Next Time,
DaNita