
Child's Art Board Tutorial
Do you have an unused frame laying around your home? Create a fun and easy art board for your little one's artwork.

This one I created for my client. She was needing a place to display her children's artwork and she had a large frame, not being used. This is what it originally looked like:

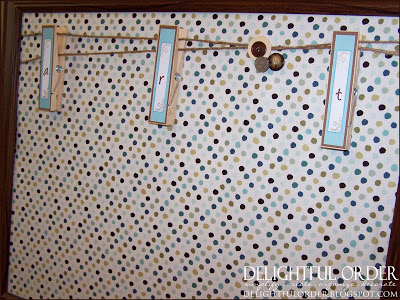
By removing the glass and adding a few fun items to the board, it went from that plain cardboard to a usable piece:
Here are the steps on creating this fun board:
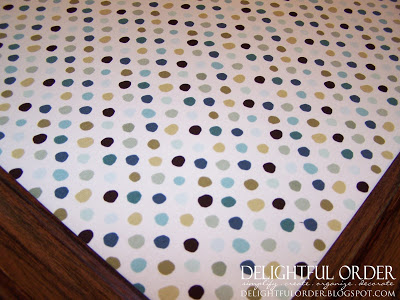
Remove the cardboard and cover it with material. Wrap the material around the back of the of the cardboard and hot-glue.

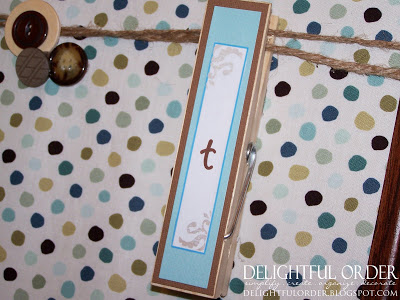
I found these extra large clothes pins at Craft Warehouse.

Cut strips of cardstock paper to fit over the clothespin. Attach using Mod Podge.

I created the art wording in Microsoft Publisher. Printed it and cut the strips out and Mod Podged those onto the clothespins.

Before gluing, lay out your design to the way that you like it.

I love the jute twine and found it on sale at craft warehouse.

I certainly will be using more of it.
Once you are happy with the layout, hot-glue all the pieces onto the board.
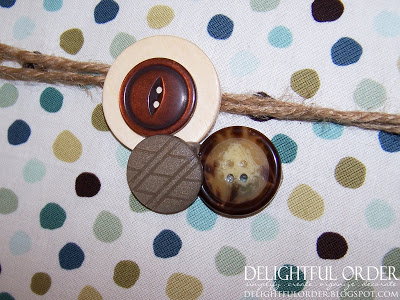
I added some buttons.
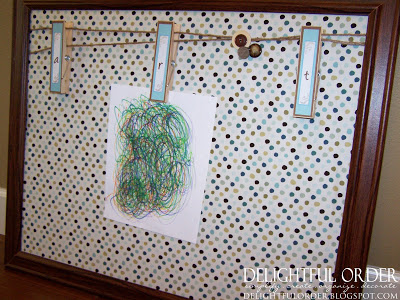
and VOILA - you have a cutesy place to display your child's art.
Hang it on a wall and start using your board.
Here's a look at the before and afters together.

Last year I created this art cork board for my chicklets:
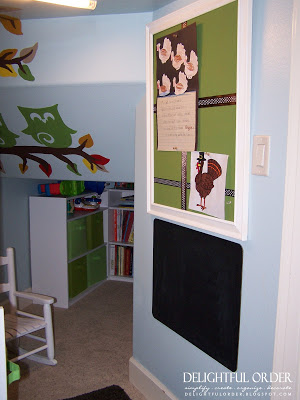
Click the photo above to be directed to the post.
Do you have a special place to display your child's art that they bring home from school? Do share!
and .... speaking of school, I'm working on something that I'm super duper excited to show you to help keep your children organized during school.
Do come back soon to see what I've been up to and if you don't already, follow me or subscribe by email to stay updated on all things Delightfully Organized and more!
Have a truly blessed weekend!

Linking to some of