
DIY Fall Centerpiece (Contributor Post)
Floral arrangements are so intimidating to me! Every time I pick out a bouquet that catches my attention at the grocery store, I have absolutely no idea what to do with it when I get home. No matter how much time I spend obsessing over each flower, it always looks like I just haphazardly tossed them in a vase!
So naturally, I decided to create DIY pumpkin floral centerpieces for my sister-in-law’s baby shower. Maybe not the best idea I’ve ever had considering my lack of experience, but I felt like I needed to just dive in and get my hands dirty. Literally! And, truth be told, my main motivation for doing it myself was to save money. I had an image of what I wanted in my mind, and knew that I would be paying big bucks to get that from a local flower shop.
Spoiler alert…they turned out even better than I could have hoped for (whew!), and everyone commented on how gorgeous they looked. As an added bonus, they were beyond easy to make! So today, I want to share my process to encourage those of you that are intimidated in the same way that I was.
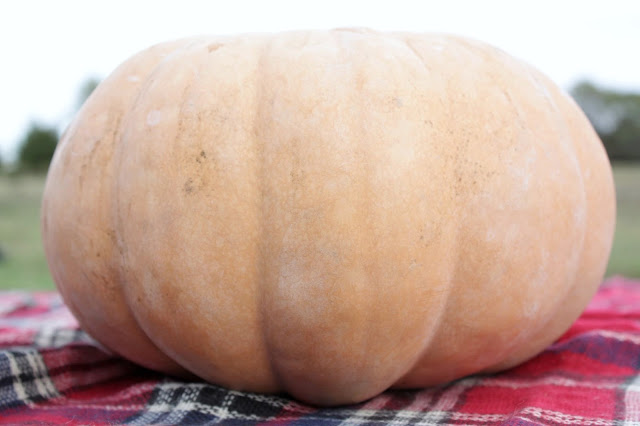
The first item on your agenda is to find the perfect pumpkin. I assumed Home Depot would still have some, but I was told that they had given them all away after Halloween. Thankfully, a local garden center came to the rescue, and I found two beautiful muted orange colored pumpkins for $5 each.
Trader Joe’s had a large assortment of fall colored flowers, so I picked up three bunches for a total of $15.
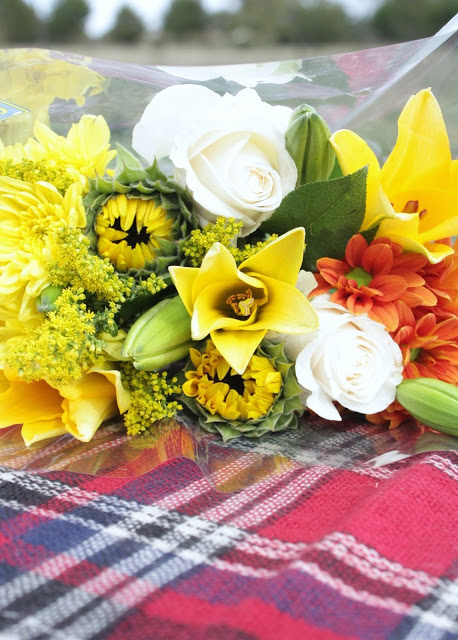
Gorgeous, right?
Once you have the pumpkin and flowers, you are ready to start assembling your centerpiece. First, cut a hole in the top of your pumpkin a little larger than the vase you are planning on using. I used my vase (a plastic cup) as a template and marked around it with a sharpie. Cut around your mark, remove the top, and scoop out all of the seeds and pulp.
*Tip: Be sure to scoop out as much of the pulp as you can to delay the rotting process. From what I have read, you can use bleach or apple cider vinegar to sterilize and preserve the pumpkin at this point. I try to stay away from bleach and other harsh chemicals, and apple cider vinegar can attract bugs, so I suggest peppermint castile soap as a safe and effective alternative. Cleaning the inside of the pumpkin with this will slow the decomposition process and should extend the life of your pumpkin.
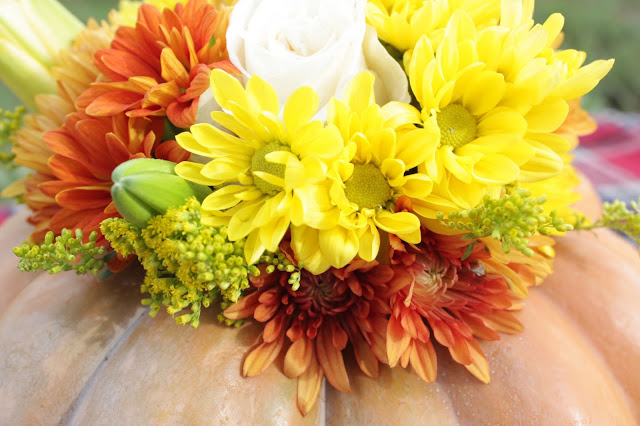
Follow the directions on the package of floral foam you choose to use, and place it in your vase. Now you are ready to start arranging the flowers. My biggest piece of advice for this part of the process is to start with a few of your larger flowers, and then fill in any empty space with your filler flowers. As you can see below, I started with roses and lilies and began filling in with mums and whatever I had left over.

It will look a little naked in the beginning, but the more you play with the arrangement and fill in the spots that look bare, it really starts to come together and look more complete. Be sure to look at it from all angles to make sure your filler flowers hide the vase and your arrangement looks symmetrical. The good thing about this is that it’s basically foolproof! If you don’t like the way it looks, start over and try again. Just try to relax and have fun with it!
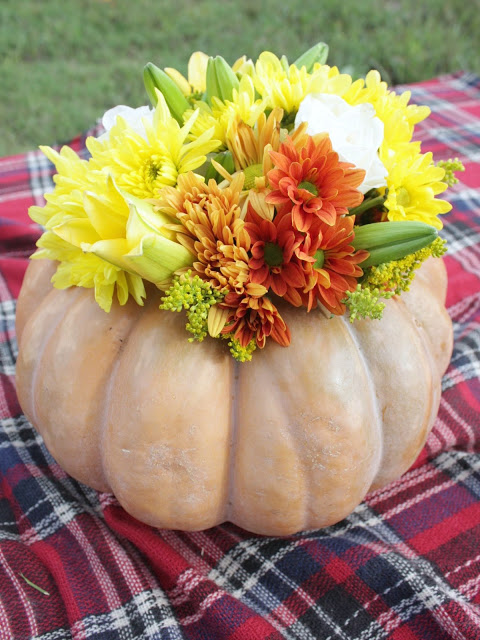
I spent a total of $25 dollars and completed two centerpieces in less than an hour. A week later, and they still look good! If you decide to make these for Thanksgiving or a specific event, you can store them in the refrigerator to keep everything looking fresh until you are ready to display them.
I truly believe that if I can do it, anyone can. I would love to see your finished product if you decide to make one for the upcoming holidays. If you have Instagram, take a picture and tag me @kristindboyd so I can see it!

Hi! I'm Kristin from The Orderly Home.
I love all things organization and I'm a sucker for pretty storage solutions and anything that makes life easier for me and my family. A little about me: I'm 27, married to my best friend, and mama to a precious little boy. I'm a Texas girl who enjoys cooking and baking, spending time outdoors, and barre workouts. My idea of fun involves an iced coffee, some good music, and a label maker. My style has evolved over the years, and currently I am gravitating towards anything simple, clean, and neutral.